

Walls & Ceilings Prep guide
How to prepare surfaces for microcement & clay plaster prior to installation.
Everything you need to know before starting your project.
1. Structural Prep (Noggings & Reinforcement)
Install timber noggings between studs
Reinforce areas for:
Wall-mounted fixtures
Kitchen Cabinets
Key checks:
Ensure all framing is rigid

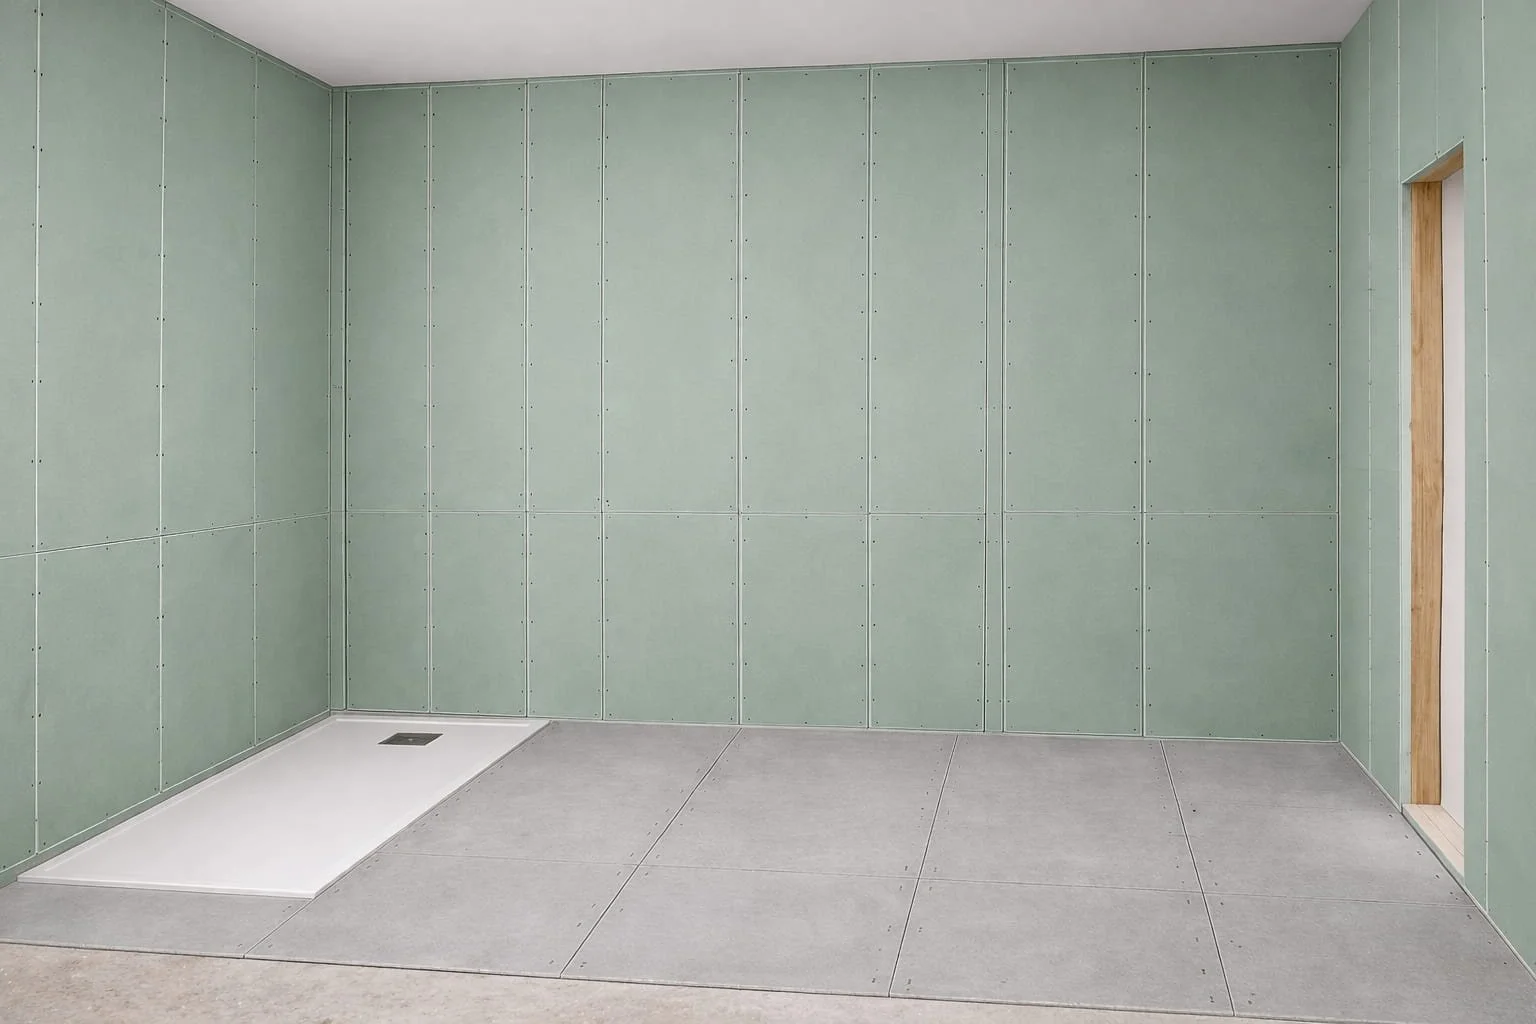
2. Wall Boarding (Moisture Resistant boards where moisture is present)
Use moisture-resistant plasterboard (green board)
Fix via:
Dot & dab (solid walls)
Screws (stud walls)
Ensure boards are plumb and level
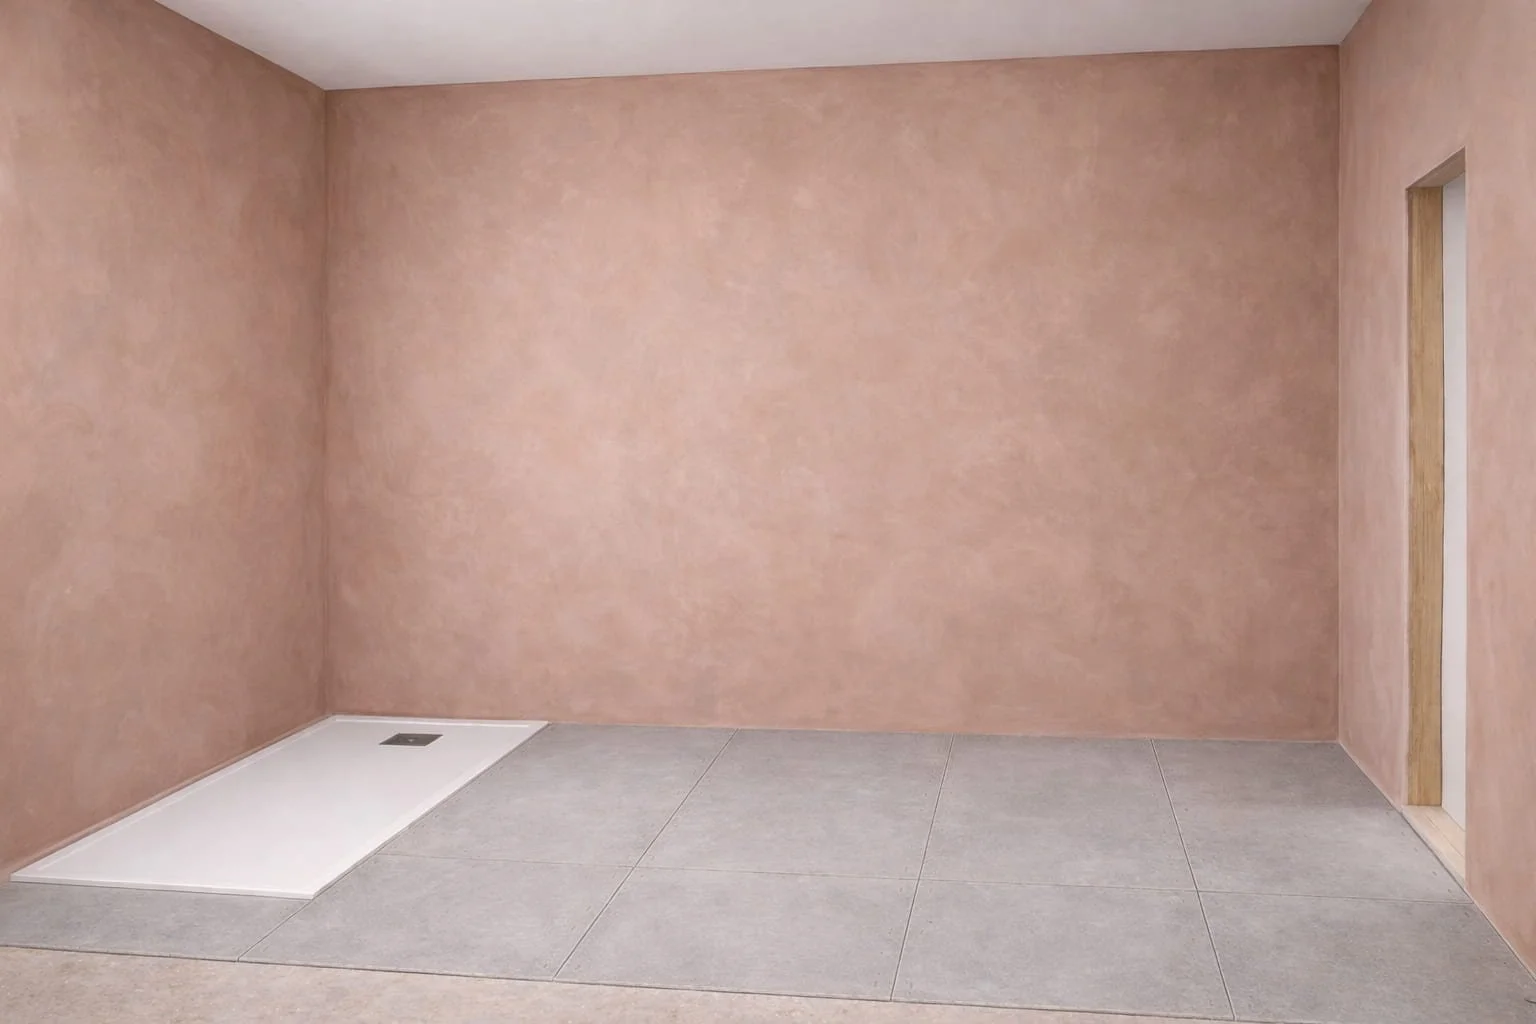
3. Tape & Jointing / Plastering
Apply skim tape on joints / screw holes
Apply coat of joint compound or plaster
Sand smooth (If tape & joining )
Key checks:
No visible joints
Surface feels completely smooth
Ready for Paint finish
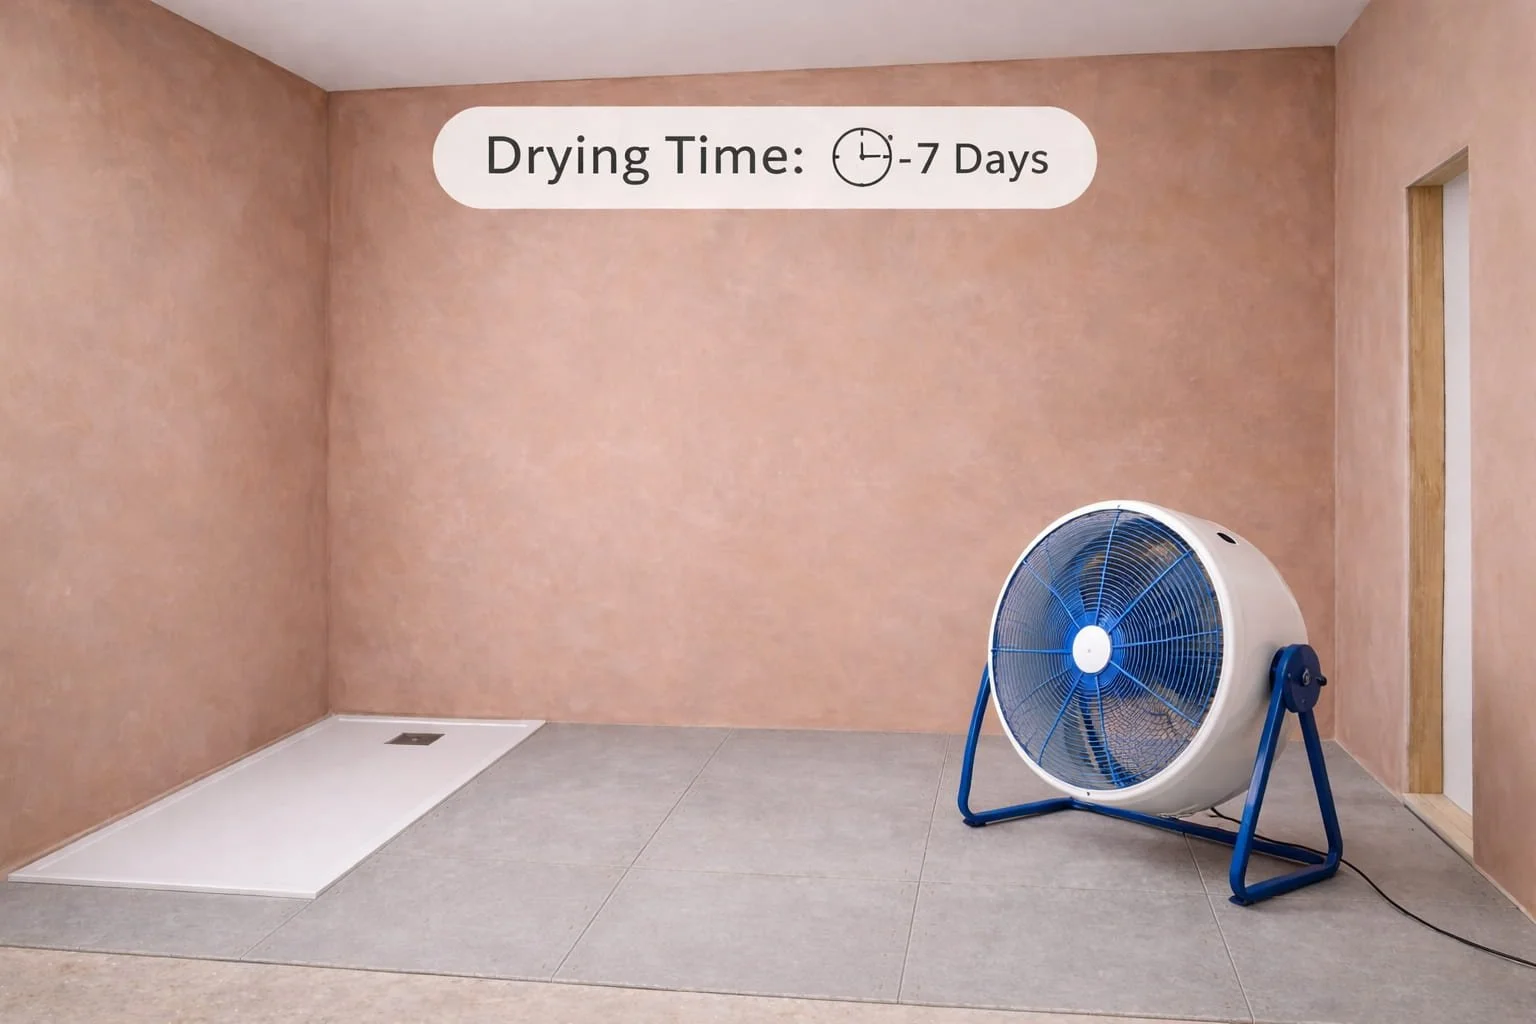
4. Let the surfaces dry
Tape & joint can take few days to a week to dry in regular living conditions
Plaster normally takes 1-2 weeks to fully dry in regular living conditions
Temperature & Ventilation plays a key part in drying process
Key checks:
Keep warm room temperature 18-24 ℃
Run regular ventilator for air circulation
Regularly open windows to get rid of humidity
Final Takeaway
The quality of your Microcement or Clay plaster finish is entirely dependent on preparation.
A perfect substrate ensures a premium finish.