
Microcement Preparation Guides
How to prepare surfaces for microcement bathrooms, flooring & clay plaster prior to installation.
Everything you need to know before starting your project.
Why Proper Preparation Matters
Microcement is applied in thin layers, meaning the final finish depends heavily on the condition and stability of the surface underneath. Correct preparation helps prevent movement, cracking and moisture-related issues while ensuring a long-lasting seamless finish.
Our preparation guides explain the key steps required before installing microcement on bathrooms, floors, walls and shower areas.
Select a guide below to learn how to prepare each surface correctly before installation.
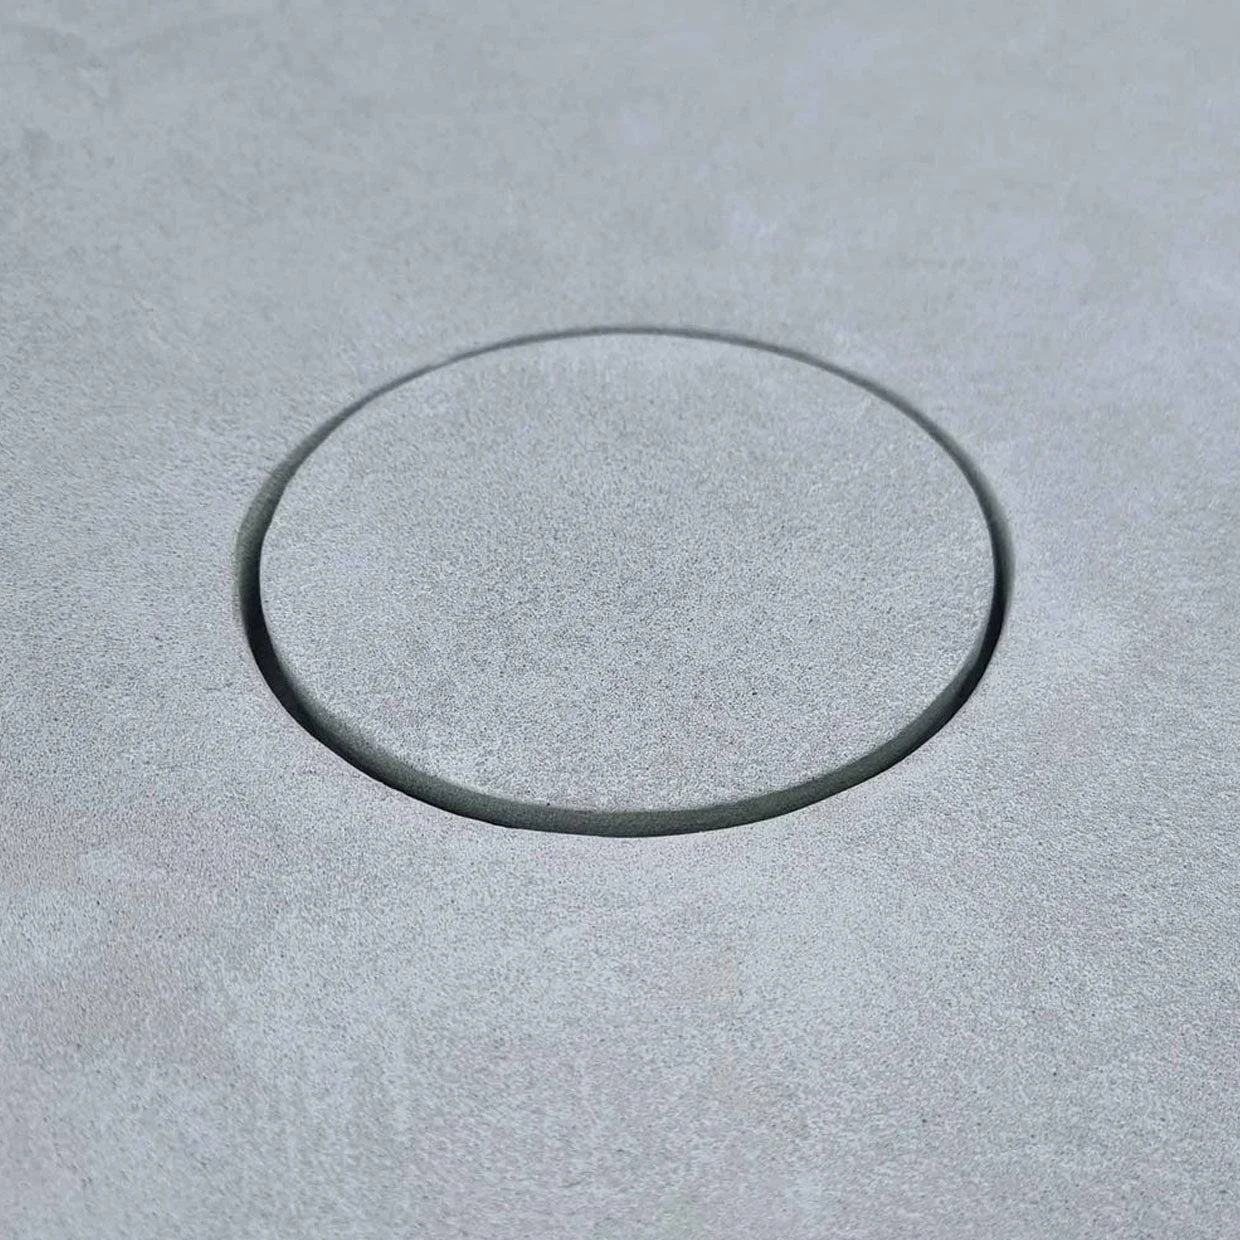
Shower Tray Guide
Everything you need to know about choosing the right shower tray for a seamless microcement finish.
Floor Preparation Guide
Everything you need to know about floor preparation and fixing the issues

Bathroom Preparation Guide
Everything you need to know about preparing a bathroom for microcement installation, from demolition to final surface preparation.
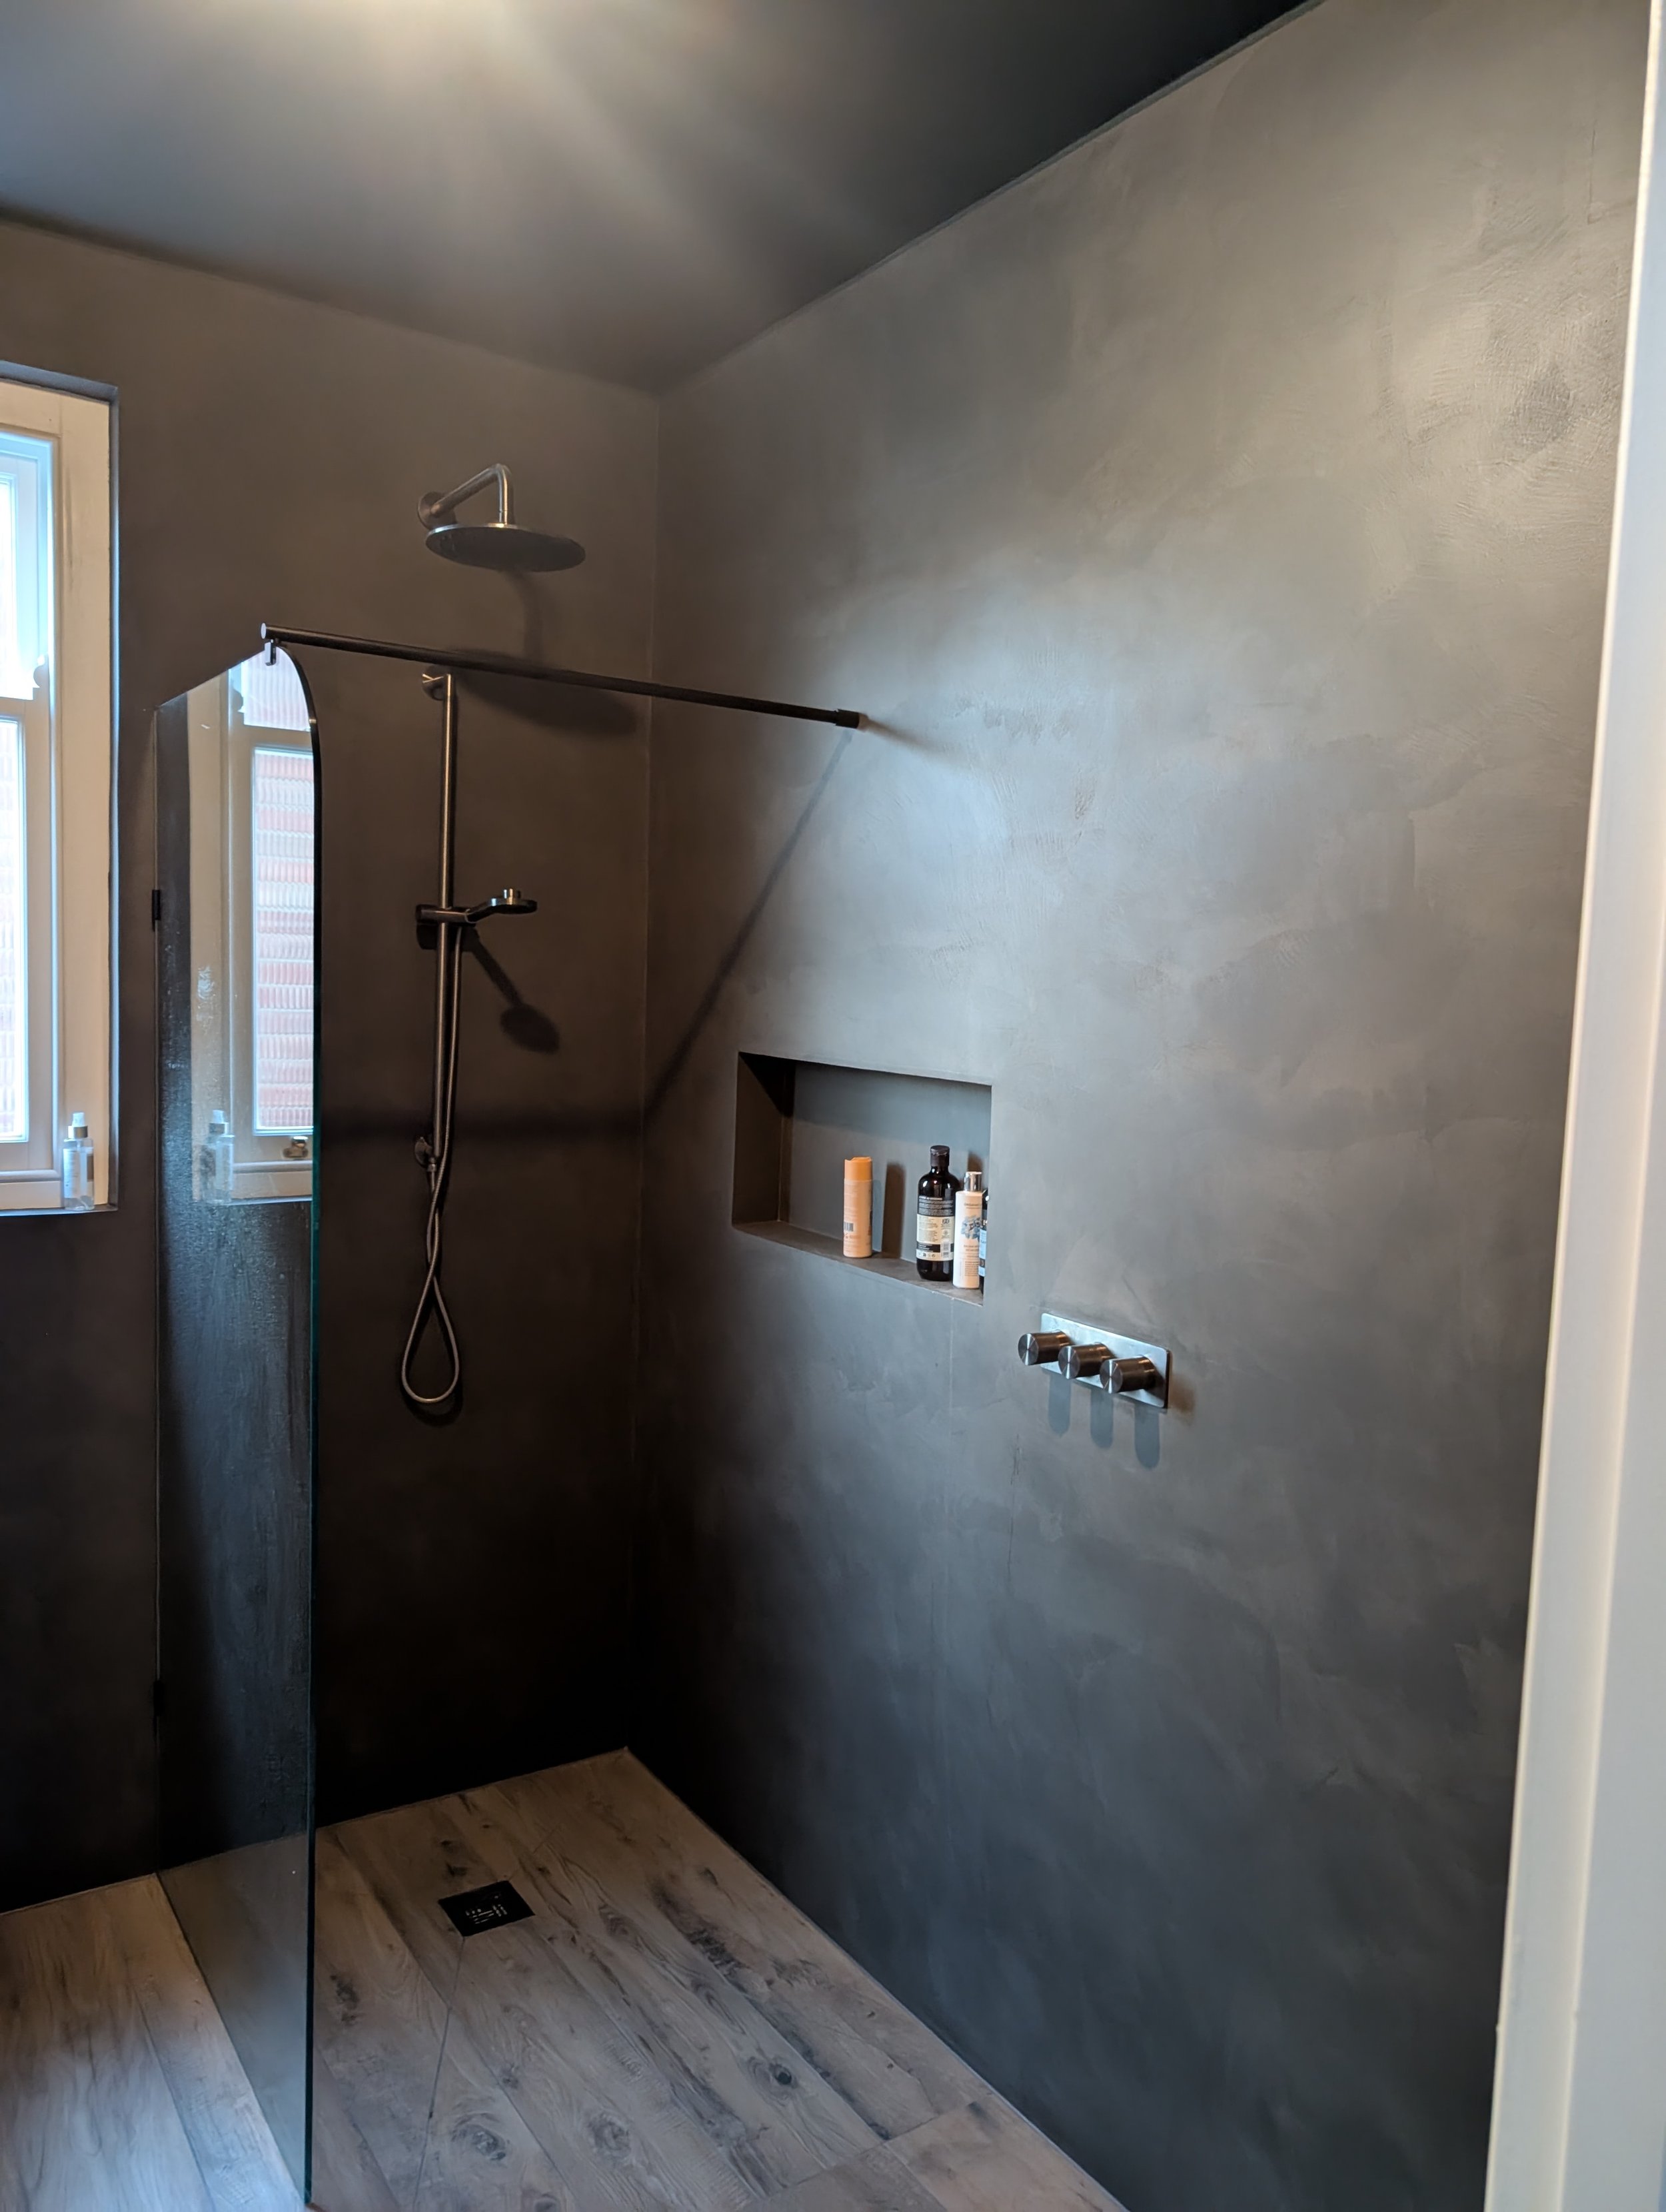
Walls & Ceilings Preparation Guide
Everything you need to know about preparing walls and ceilings for microcement and clay plaster installation.